|
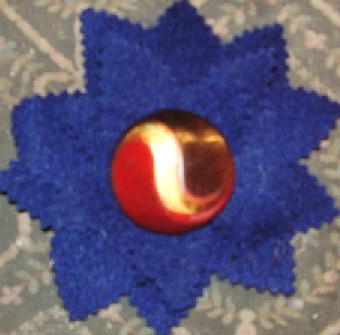
1. Select a button. It does not have to be celluloid but choose something that can be a focal point.
The button I used in the photo, is 1.5 inches across.
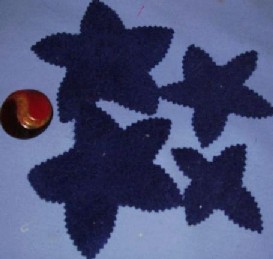
2. Choose a fabric scrap with some body and dimension to it, like coat weight wool.
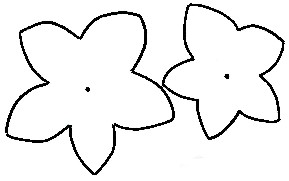
Cut two of each pattern piece (Part A & Part B) out of the fabric scrap.
You can use two different fabric scraps to add contrast.
For further “interest”, you can “pink” (using pinking scissors) the edges of the fabric as you cut
3. Mark the center dot on the pattern for button placement.
4. Layer the four pieces, with Part B, the smaller ones, on
top and Part A, the larger ones underneath.
Stagger the “petals” in a pattern similar to a daisy’s petal arrangement.
5. Center your button on the marked dot and stitch it on
with a couple of good stitches.
Embellish a hat, purse or coat with your completed button flower project.
Better yet, shrink the pattern down and use it to trim your newest Teddy Bear!
Enjoy!

Cindy McGuire
China Cupboard Bears
|

 3428 Hillvale Road